


Many of us dream of becoming self sufficient, growing fruits and vegetables in an enormous garden and living simply on what the land provides. And while in this day and age it’s probably impossible to go completely back to nature, there’s still a certain appeal in the simplicity of being able to grow your own food where you can. But how do you do this in an increasingly urban world where space for a vegetable patch costs an arm and a leg? Windowsill gardens, of course!
Grow Your Own Tomatoes
Tomatoes are a salad staple and one of the simplest fruits to grow yourself. You don’t need a garden, and you don’t even need to buy tomato seeds! The fruits themselves are full of seeds, which means that just one tomato can potentially grow you several tomato plants! How’s that for value for money?!
Follow our step by step guide to growing your own tomatoes:
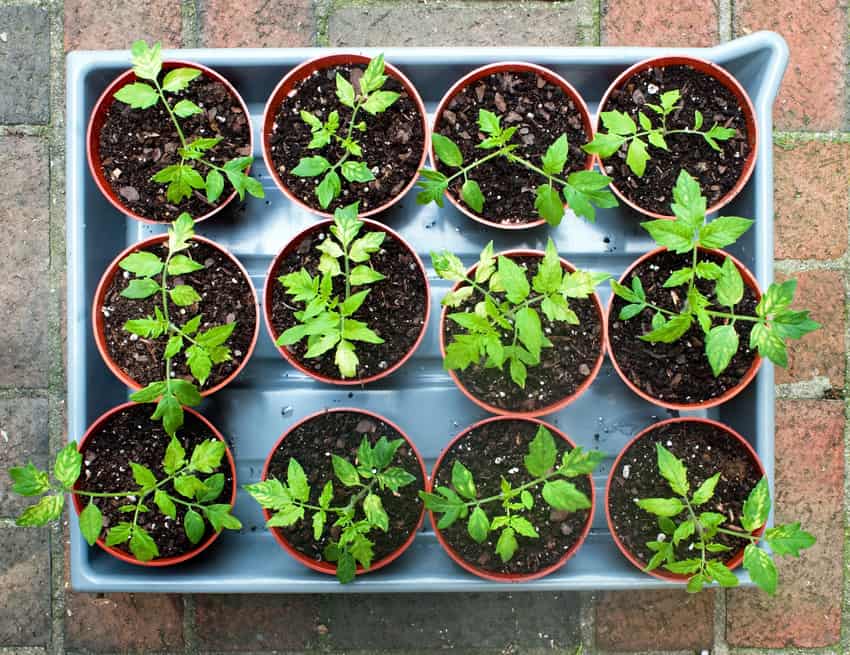
- Grab a plant pot or a large jar and fill it ¾ full with multi-purpose compost
- Slice a ripe tomato into thirds horizontally (so tip it to make the stalk face to one side, not up or down!)
- Lay any one of the thirds on top of the compost in your jar, before topping up the compost to cover the tomato and fill the jar
- Give the soil a good watering so it’s plenty moist
- Pop your jar somewhere it’ll get plenty of sunlight, like a balcony or a windowsill
- Give your seeds a little more water every other day – you don’t want to drench the soil but it should always be a bit damp
- Wait for seeds to sprout!
Top tip: As your plants grow, you might need to tie them upright by sliding a bamboo cane into the jar and tying your plant to it with a bit of string
Strawberries
Fresh strawberries are a symbol of the British summer, and they don’t get much fresher than eating them straight from the plant!
Follow the steps below to grow your own strawberries on your windowsill!
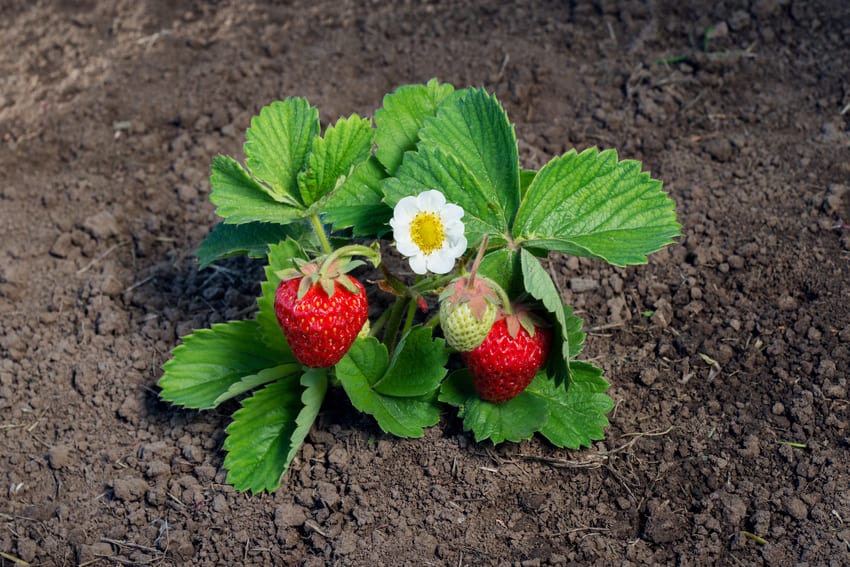
Strawberry bush grow in garden
- Pick all the seeds out of a ripe strawberry with a toothpick
- Carefully rinse the seeds so they have no fruit left on them, then let them dry out completely
- Fill a small to medium-sized plant pot with multi-purpose compost so there’s about 2-3 centimetres (or an inch in old money) left until it’s full to the brim
- Place the seeds around the pot – they don’t have to be in a pattern, as long as they’re not all clumped together!
- Sprinkle a bit more compost over the top so the seeds are properly covered
- Water the pot so the soil is damp, then pop it somewhere it’ll get plenty of sunlight, like a windowsill
- Water every other day to keep the soil nice and moist
- Watch for your baby strawberry plants to start growing!
- Transfer to a bigger pot or into a grow bag or garden once the plants are big enough – a good rule of thumb is they’ll have their “third leaves”
Top tip: Water your strawberry plants in the mornings – damp conditions encourage mould to grow which will ruin your fruit, but watering in the morning allows plenty of time for the water to evaporate in the sun without making your plants grow fur!
Spring Onions
Another salad staple, you can grow your own crop of spring onions easily without having to start from scratch with seeds! Simply follow the steps below:
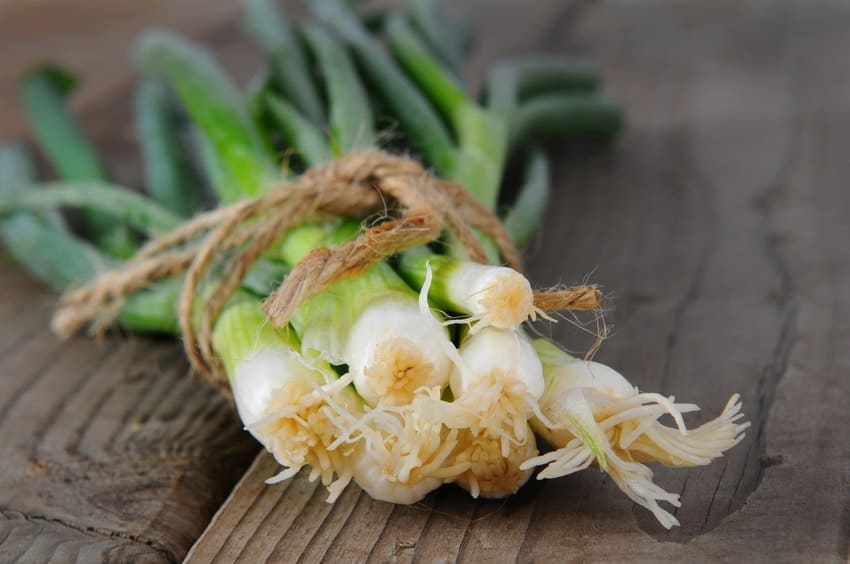
- Grab a bunch of spring onions and tie them together carefully with a rubber band
- Pop the bunch into a glass that has a couple of centimetres (or an inch) of water in it, and change the water daily so it stays nice and clean
- After a week or so, the roots should be about three times as long and you should be able to see some new green shoots – now it’s time to transfer your bunch into a pot of compost!
- Spring onions do best in a shallow pot or container – like an empty butter tub – and in as much sunlight as you can get them
- Trim the green bits with a pair of scissors whenever you fancy fresh spring onions in a salad!
Top tip: To make your crop last longer, make sure you leave 4-5 centimetres of green when you harvest your spring onions so new shoots will grow.
Romaine lettuce
OK, so this isn’t your standard iceberg lettuce, but the shape of it makes it easy to grow your own at home when you have limited space to dedicate to your indoor vegetable patch. You can’t expect to get a whole crop by doing this, but you can get two lettuces for the price of one – and every little helps!
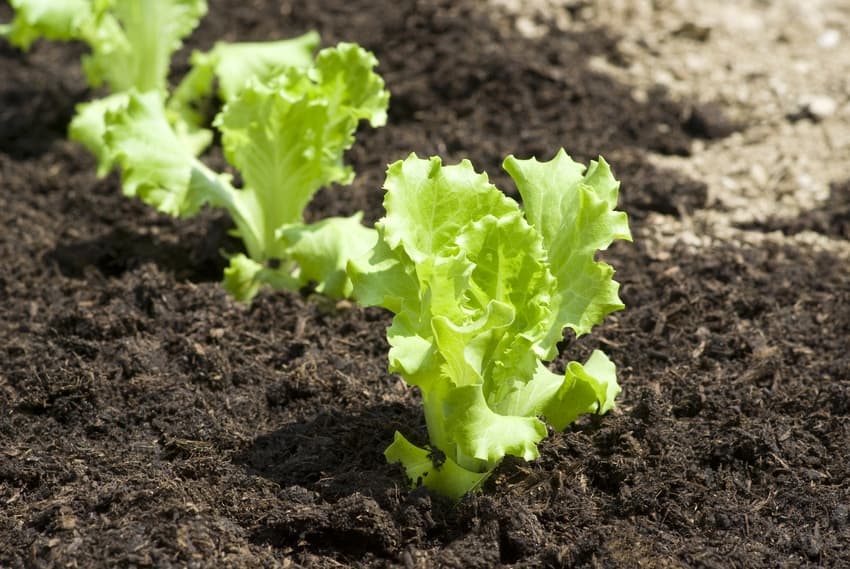
- Go about your business enjoyingg your purchased lettuce, cutting the leaves a couple of centimetres up from the bottom to leave a decent stem you can plant
- Pop the stem in a shallow dish with about a centimetre or two of water in it
- Keep it on a windowsill where it’ll get plenty of natural light
- Change the water every couple of days
- Watch your lettuce grow! You should have enough leaves to make a single portion of salad after about 10 days. Chances are this is as big as it’ll ever grow so it’s the optimal point to harvest
Top tip: If the leaves look like they have a blue-y tint to them, then bin the whole thing and start again. Blue-green leaves are a sign that the plant has gone to seed, which means the leaves will be bitter and nasty to eat.
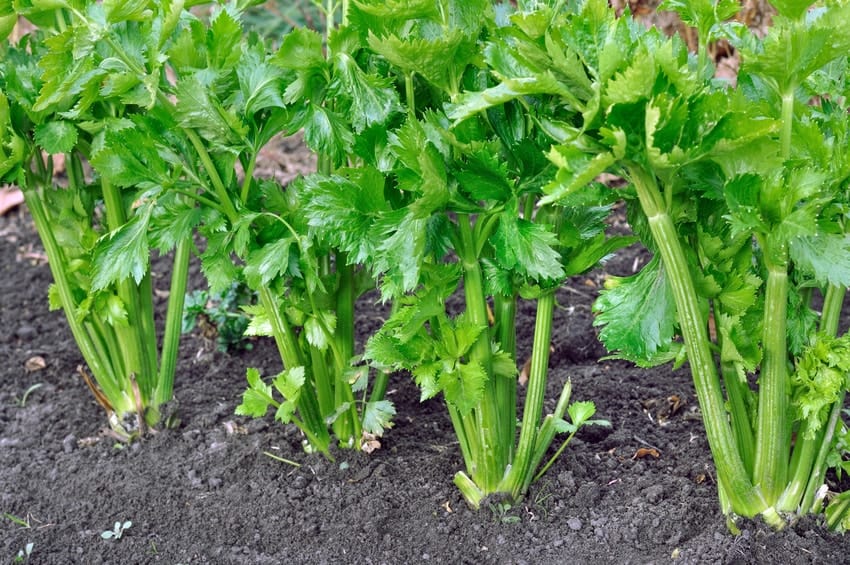
Celery
Celery is another easy vegetable to grow from the stem of some you’ve already bought, and you can get a crop going to keep you in celery all season long:
- Cut your celery stalks, leaving a stump of about 2-4 centimetres (which should be mostly the white bits)
- Pop the stumpy stem in a shallow dish with about a centimetre or two of water in it
- Keep it on a windowsill where it’ll get plenty of natural light
- Change the water every couple of days
- Watch the celery start to grow new shoots and turn a richer shade of green!
- As the shoots grow taller, peel back the outer layers from the old plant that aren’t getting any new growth
- After about 3 weeks, you should notice that the base of the stem is also growing roots! This is your cue to transfer your celery plant into a pot of compost, where you’ll need to keep it well watered (celery is a thirsty plant!) and where it can get plenty of sunlight
Top tip: If you don’t want to grow a whole celery crop, you can harvest the shoots to use in soups and salads!
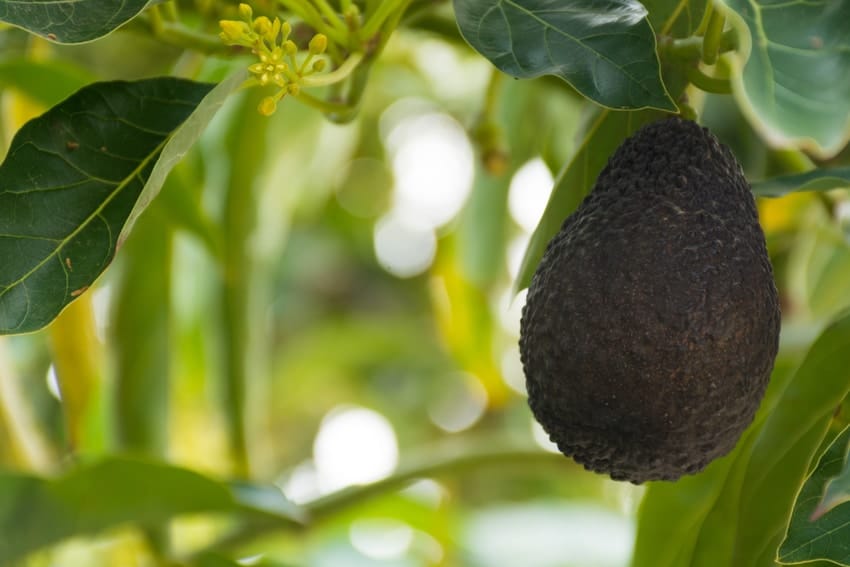
Grow Your Own Avocado Tree!
Have you gone avo-crazy? Well, if you want to try to grow your own avocado tree, you might have to exercise all the patience you can muster as it takes a minimum of 2-3 years for an avocado tree to grow fruit, and can take over a decade! If you’re committed, though, then here’s how to do it:
- Next time you use an avocado, be careful as you remove the seed and pop it on one side
- Rinse the seed clean and leave it somewhere to dry completely
- Stand the seed “upright” and poke toothpicks into it horizontally around the middle
- Place the seed in a glass of water, using the toothpicks to prop it up so only the bottom quarter or so is in the water. The pointy end should be facing upwards
- Keep your avocado seedling in a warm place, topping up the water as necessary to maintain the water level
- Change the water completely once a week to keep it clean and nutritious for your avocado plant
- Roots should form within 2-3 weeks, and a stem should sprout not long after. Once the roots 4-6 centimetres long (2-3 inches), you can take the seed out of the water, remove the toothpicks and transfer it to a pot of soil, leaving the top half of the seed and the stem sticking out of the soil
- Water your plant regularly to keep the soil damp and keep it in a nice, sunny place
Top tip: Use a sandy soil like loam or cacti compost to plant your avocado – avocado trees do best in this kind of loose soil!