Autumn is a beautiful time of the year; a time when nature prepares for winter – birds fly to sunnier climes, animals hibernate and leaves of rich golden colours begin to fall. There is nothing better than wrapping up warm and walking through a park or forest as the seasonal temperature begins to drop, leaves crunching under foot. If you love this season as much as us, read on, as we have come up with a range of ideas for upcycling with nature to help brighten up your home and bring those autumnal colours inside.
Leaf Suncatchers
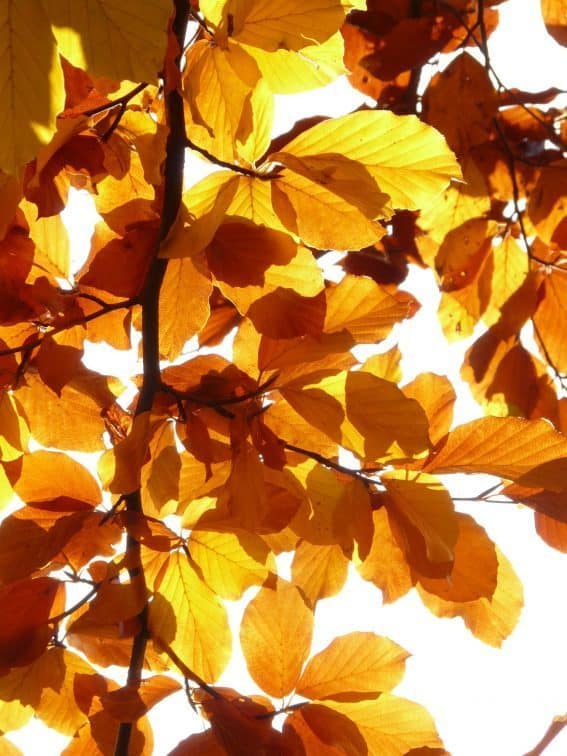
Suncatchers are a beautiful way to capture and reflect the light from the outside. Here is a fun and easy-to-make idea for creating some suncatchers using fallen leaves as templates.
You’ll need:
- Wax paper
- Paintbrushes
- Paint (gold, brown, orange and red)
- Permanent marker
- Scissors
- Leaves from outside
- Clear sticky tape
How to:
- Lay out the wax paper. The amount you need depends upon how many leaves you want to make, but as a general rule around 50cm will make four leaf shapes
- Blob the paint over the wax paper, making sure there is enough to smear it all over the paper later
- Fold the painted paper in half, lengthways
- Press your hands all over the paper to mush the paint all over it
- Leave the paper folded and let the paper dry
- Use the leaves you found from outside as a template and put them over the wax paper. Trace around them with the marker pen and then cut the leaf shapes out
- Now they’re ready to stick on the window with tape
Leaf Light Jars
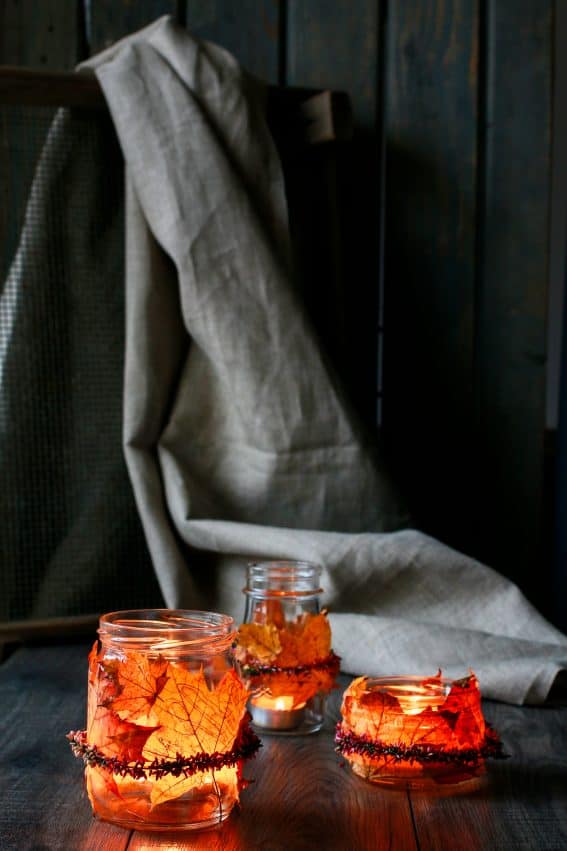
Mason jars are all the rage for home decorations, but a clean jam jar works just as well, and is a lot cheaper. There are hundreds of ways in which you can decorate them, but one of our favourites is with autumnal leaves.
You’ll need:
- A clean jam jar
- A selection of autumn leaves
- A paint brush
- Scissors
- Glue
- Clear varnish
- Long strands of thick grass
- Tea lights (or battery powered fairy lights)
How to:
- Smear glue all over the outside of the jar
- Stick the leaves onto the jar, making sure you layer one over the other; don’t worry if it is not perfect
- Let the glue and leaves dry completely
- Seal by painting the clear varnish over the leaves
- Again, make sure this is completely dry before tying the grass around the top to make a bow
- Put the tea light (or a battery powered lights) inside
Leaf frame

Another way to bring some autumnal colour into your home is to jazz up an old photo frame, chalk board or mirror with leaves found on a country walk. You could even use them to create a frame of rich colours around old furniture, such as a coffee table or sideboard.
You’ll need:
- A selection of autumnal leaves
- A paint brush
- Glue
- Clear varnish
- Old wooden photo frame, mirror, chalkboard or piece of furniture
How to:
- Smear the glue around the edge of an old wooden photo frame, mirror, chalkboard or piece of furniture
- Stick and layer the leaves around the edge – use as many as you want, depending on your preference
- Make sure the glue is completely dry and then seal with clear varnish
- Once the varnish is dry, put a favourite picture in the frame or, if a mirror or chalk board, hang on the wall. If you’ve been more ambitious, make sure you put your furniture on display for others to admire
A natural feature wall
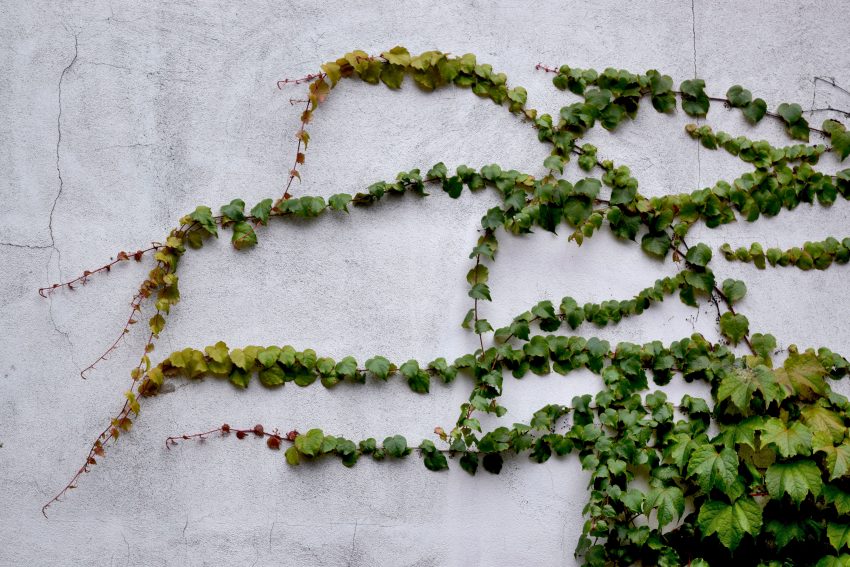
Create a feature for your wall by using a selection of leaves or other foliage such as ivy – which we all know grows in abundance – or sprigs of holly. You can add extra sparkle with battery-powered fairy lights.
You’ll need:
- A panel of wire mesh or chicken wire
- A selection of leaves or sprigs of holly or ivy cuttings
- Scissors
- String or ribbon
- Battery-powered fairy lights
- A hammer and picture hooks
How to:
- Get a piece of wire mesh or chicken wire – the size depends on how big you want the feature to be
- Thread the leaves, foliage, sprigs of holly or ivy through the wire and secure with string or ribbon
- Now, thread the fairy lights through
- Hang on the wall with picture hooks
Herby wreaths or bunting
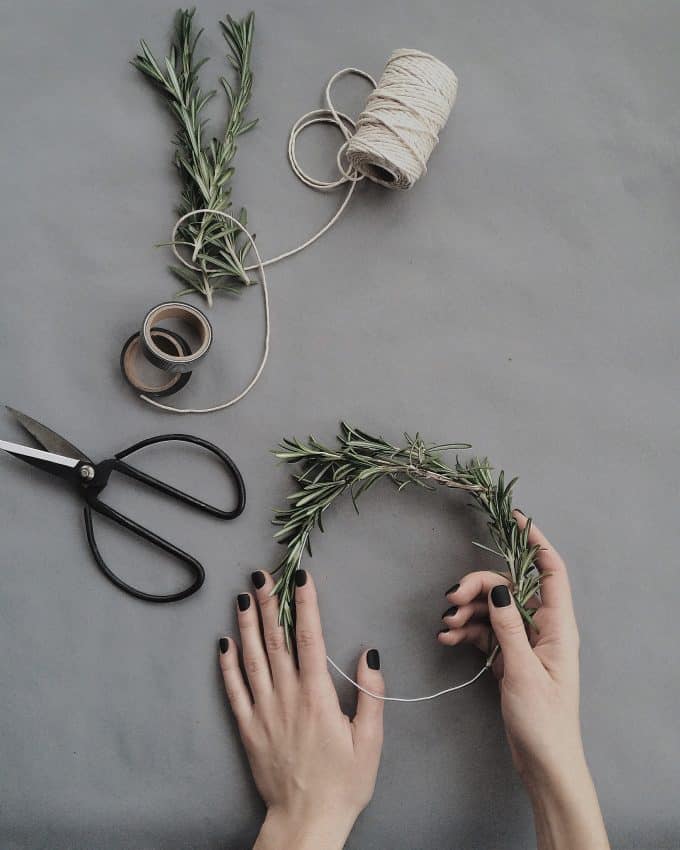
Many herbs thrive in autumn and if you want to bring some of those amazing smells into your home, why not make a wreath or bunting from your favourites?
You’ll need:
- A selection of herbs
- A piece of wire
- String or ribbon
- Hammer and picture hooks
How to:
- Make a circle out of piece of wire
- Wrap with herbs of your choice
- Secure with string or ribbon
OR
- Tie bunches of different herbs together with string, and then tie them onto a longer piece of string or ribbon
- Hang your wreath or bunting on picture hooks
Decorated twigs
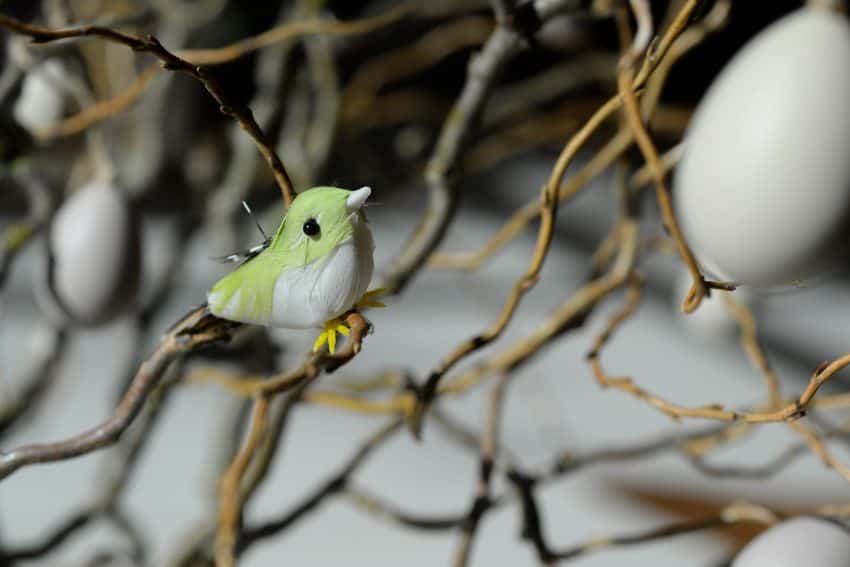
Shop bought light-infused twigs have been an interior design staple for many years now; but you can make your own version easily and cheaply. Decorate them with fairy lights or other natural items such as pine cones attached to bright coloured ribbon or even make these little papier mache birds.
You’ll need:
- A selection of twigs
- Small pine cones
- Ribbon
- String
- Glue
- Fairy lights
For the papier mache birds
- Newspaper
- Tape
- Paper towel
- Glue
- Water
- Recycled container
- Paint
- Permanent marker
- Gauge wire
- Feathers
How to:
- Collect a selection of twigs, all roughly the same size
- Put them in a big vase or tie together with string, so you create a thick base to help them stand upright
- Decorate with fairy lights
- Make a loop with string and glue onto the small pine cones, before threading loops onto ribbon and draping around twigs
- Decorate with fairy lights, if you wish
To make the papier mache birds
- Tear a sheet of newspaper into quarters and scrunch into a pear shape
- Tape into place and twist out a beak shape at one end
- Cut paper towel into strips, pour glue into container and add water 1 to 1 ratio, mix
- Dip strips into glue mixture and start covering your bird; smooth as you go
- Leave to dry overnight
- Paint with a colour of your choice, or cover with feathers
- Make feet out of gauge wire and paint
- Attach birds to twigs with string or glue


