Keep the kids entertained without breaking the bank by getting stuck into some autumn craft projects this half term. These child-friendly projects will get them excited to explore the great outdoors as they hunt for the perfect natural decorations to add to their designs. Not only will the little ones love seeing their completed creations, you’ll find that these crafts were made with autumnal decor in mind, making them an adorable addition to your home.
Easy Autumn rock art

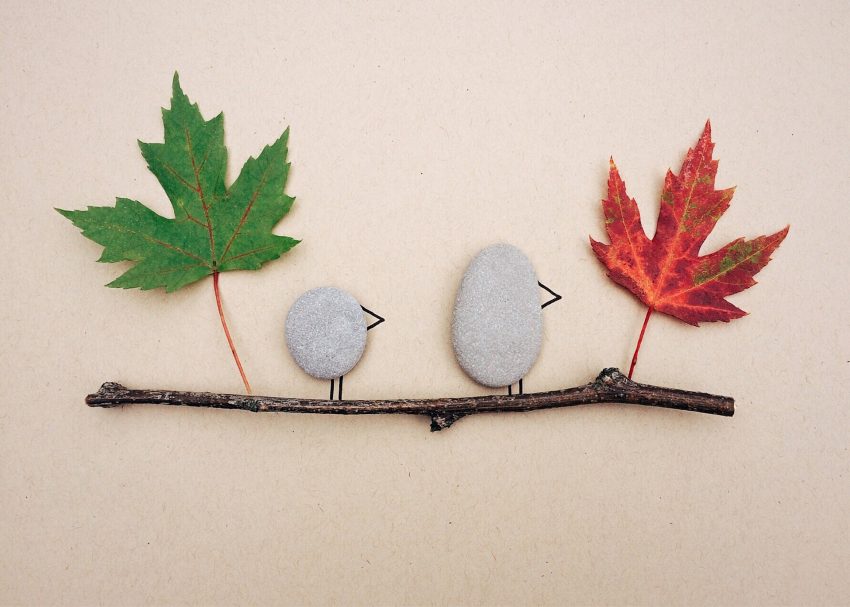
Not only do rock art projects make lovely gifts and mementos, they’re a great excuse to get the kids outdoors to collect some supplies. Kids and adults of all ages are sure to enjoy getting involved with this quirky craft.
You will need:
- White or cream card
- Thin black felt tip pens
- Smooth rocks and leaves
- A small twig or branch
- Glue – preferably a hot glue gun or strong super glue
- A frame to feature it in (optional)
Start with some thick, plain card in a neutral colour before applying glue to the branch along one of the sides and sticking it onto the card carefully. Allow this to dry for a couple of minutes until it’s sturdy and safely stuck onto the card. Grab as many rocks as you need and let your child’s imagination run wild by letting them decide on the scene they want to make. Glue the rocks near the branch, making sure you leave enough room for legs, arms and any other extras you want to draw on. Perhaps you could draw beaks and wings to create baby birds or arms and legs to look like people sitting in a tree?
Once you are happy, find a place to stick your leaves and simply add those to the scene. Do this by placing glue on the stem of the leaf as well as a small dab in the centre of leaf, rather than putting it all over. Once it’s all dry, you can write a little message on it or even frame it to hang up around the house.
Autumn themed candle

You will need:
- A candle in white or other autumnal colours
- Natural decorations, such as twigs
- Glue
- Small sticks and twigs, in a variety of sizes and shapes
- Pre-made wooden circular base
- Spray paint and ribbon (optional)
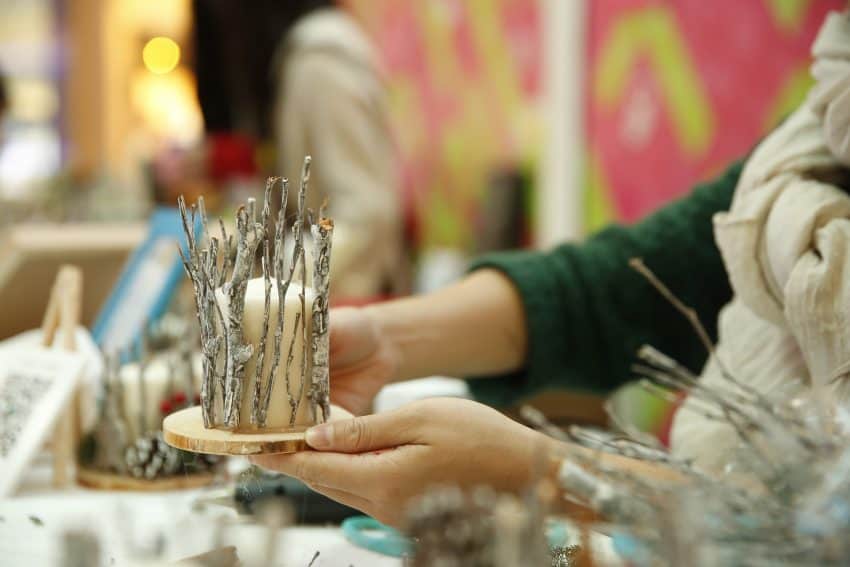
Children and parents alike will love seeing their creation glow throughout the night. These autumnal candles make a perfect decoration for every room in the house. Swap the wick candle for one that is LED powered if your child wants to light up their room with it.
Start by gluing the candle onto a wooden base, which you can find at most craft shops. Allow this to dry until it’s fully secure and sturdy enough to work on. In the meantime, take the little one outside to grab some sticks that vary in size and shape. If you want to add some colour to the twigs, you can give them a light coating with some spray paint – we suggest using autumnal colours such as red, orange or white. If you do choose to paint them, you’ll need to wait for them to dry before continuing. Glue the sticks onto the base so they circle around the candle, leaving enough room at the top so the wick is still visible.
Once dried, you’ll have the perfect autumn decoration. Feel free to tie a bow around the middle with some ribbon for an extra touch or replace the spray paint for fake snow for a frosty look if you want your candle to work for winter too.
Related: Kid’s DIY Halloween Costume Ideas
Leaf wreath

Who said wreaths are just for Christmas? Celebrate all things autumn with this easy to make decorative piece. Children will love collecting the leaves to make their own and the wreaths are totally biodegradable, meaning you don’t have to worry about storing it after.
You will need:
- Colourful leaves with as few holes and damage as possible
- Parchment or waxed paper
- Microwave
- Iron
- Cardboard box
- Scissors
- Glue
- Staples and stapler
- Yarn, string or twine
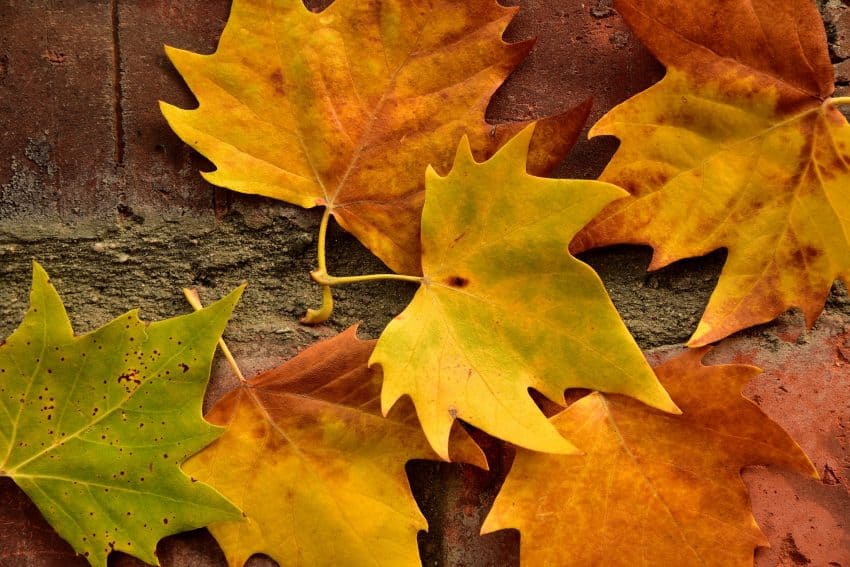
Collect colourful freshly fallen leaves, avoiding those that have a lot of damage. To keep the leaves beautifully vibrant, place some parchment or waxed paper above and beneath them before zapping them in the microwave for a 10 – 30 seconds to dry them out, checking every few seconds so they don’t turn brittle. Press the leaves with a hot iron after taking them out of the paper, leaving them completely flat.
Now that the leaves are dried out and ready to use, you’ll need to cut out the wreath shape using cardboard. You can get the young ones involved with this by getting them to draw around a large plate and then doing the same in the middle. Cut this out for them, including the middle section, so you’re left with a doughnut shape. Start stapling bunches of leaves at the stem onto the wreath, layering them to get the design you want. When the the wreath is covered, use glue to place some leaves over the visible staples to hide them.
Finally, add a touch of glue to the back and stick on a loop of string, twine or yarn so you can hang it up.
Hand painting autumn designs

Experiment with different designs using this incredibly easy art method that the whole family will love getting stuck into. We’ve given the instructions for a fall tree design, but let your imaginations go wild and think of more designs, such as acorns or birds.
You will need:
- Newspapers to protect surfaces
- Washable, non-toxic children’s paints in brown and autumnal colours
- Paper or card
- Pencil (optional if you’re drawing the base of the tree)
Start by deciding if you would rather use the child’s arm for the trunk of the tree or if you want to draw a template. To use their arm, paint the child’s arm brown and get them to roll it from side to side to create a base. If you prefer, you can draw a template of a trunk for them to paint rather than covering their arm. Paint their hand using an autumnal colour such as red and stick it on top of the trunk with their palm touching the base so their fingers look like leaves. Wash their hands and repeat the process – maybe even layering in some different autumnal colours as you go – until the tree looks bushy and bright.
Fill the autumn half term with fun with these seasonal crafts that get your family both outside and feeling creative.


